
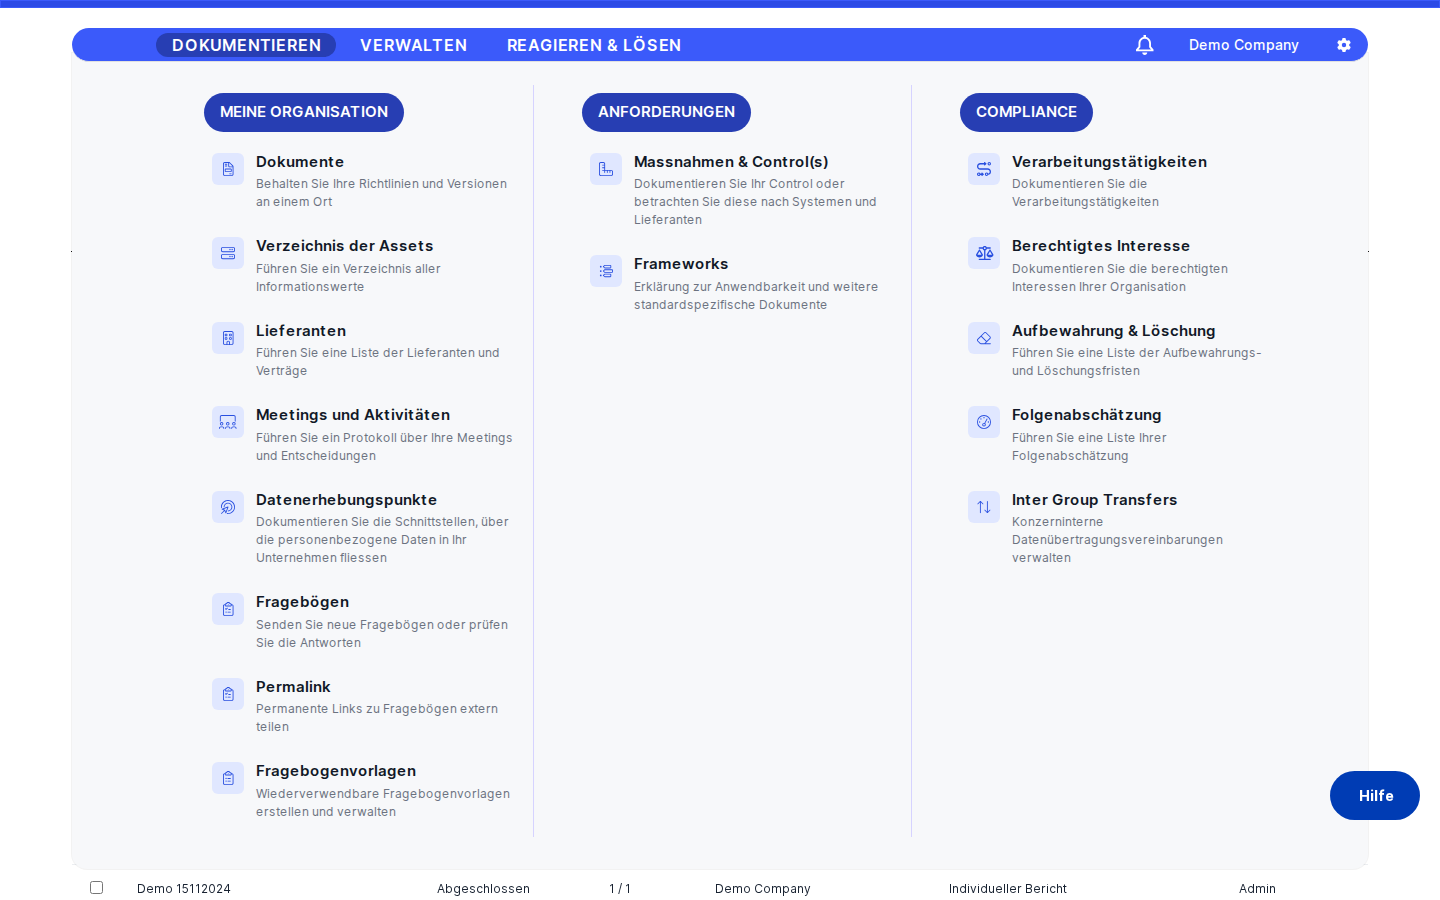
Reporting overview
Reporting Overview
The Reporting screen is your one-stop hub for turning raw DPMS data into polished, distributable compliance documents. Whether you need a tailored PDF covering your processing activities and DPIAs or a structured Word document aligned to ISO 27001, this is where you configure, request, and download those reports. Data Protection Officers, compliance managers, and risk managers use this screen regularly — it eliminates the need to copy records out of the system manually. IT administrators also check in here to confirm that report generation jobs have completed and to troubleshoot any failures.
How to open it
In the left-hand navigation sidebar, click Reporting. This is a top-level menu item — no sub-menus to expand. The page loads immediately at /reporting.
Heads up: You need at least read access to the Reporting module to see the list. If you can see the menu item but land on an error page instead of the report list, ask your administrator to grant you the appropriate reporting access. To create new reports, you also need the create permission on top of the read permission.
What you see
When the page loads, you'll see a full-width table listing every report your organisation has generated or requested. Above the table, on the left, is a row of status filter tabs that let you narrow the list by report lifecycle stage. On the right, a search bar and a Create button sit side by side.
Each row in the table shows seven pieces of information: the report name, its current status (with an animated spinner if it's still generating), a ratio of files produced versus languages requested, the organisational scope, the report type, the compliance standard (if any), and the name of whoever requested it. As you scroll down past the loaded records, the page silently fetches the next batch — there are no numbered pages to click through.
If you click any row, you navigate to that report's detail view. The detail view has a two-panel layout: a collapsible list of tabs on the left (General and Documents) and the selected tab's content on the right. A sticky panel on the far right always shows the report's current status and when it was last updated.
Working with this screen
Generating an Individual Report (custom PDF)
An Individual Report is the right choice when you want a tailored document covering specific element types — for example, all DPIAs for a particular subsidiary created in the last quarter.
- Click Create in the top-right corner. A small dropdown appears. Select Individual Report. You are taken to the creation form.
- Give your report a clear name — something that will still be recognisable in a list months from now, such as "Q3 DPIA Audit — Switzerland."
- In the Organisation Report dropdown, select the company or companies to include in scope. The options here reflect the organisational units your account is associated with.
- In the Element Types field, choose the record types you want included (for example, DPIA or ROPA). A dedicated element card appears for each type you select.
- On each element card, you'll see three toggle switches: Display Logs, Responsible Person, and Document Links — all set to "No" by default. Turn on any you want included in the exported document. You can also add filters within the card to narrow down which specific records are included. Each filter has a field, an operator, and a value (for example: "Created At — between — 01 Jan 2025 and 31 Mar 2025"). Every element card needs at least one complete filter before you can save.
- Keep an eye on the Estimated Report Size panel, which updates live as you adjust your selections. It gives you a rough page count and an estimated generation time so you can anticipate how long to wait.
- In the Languages dropdown, select the output language(s). If this dropdown is empty, active languages haven't been configured in IT Settings yet — see the tip at the bottom of this article.
- If you want to restrict records by date, toggle the Timeframe switch on and pick a start and end date.
- When everything looks right, click Save. DPMS records the configuration, dispatches a background generation job, and returns you to the Reporting index.
Back on the list, your new report appears with the status Initialized, which changes to Running within moments (watch for the animated spinner). Once generation is complete — typically within a minute or two, though larger reports with many languages take longer — the spinner disappears and the status updates to Completed. Click the row, go to the Documents tab, and download your PDF.
Generating a Compliance Report (ISO 27001 Word document)
A Compliance Report produces a structured Word document aligned to a recognised standard. Currently, ISO 27001 is the only supported standard.
- Click Create → Compliance Report.
- Type a name for the report.
- Confirm that the Standard dropdown is set to
ISO27001— it is the only option available. - The Format is preset to Word; you cannot change it.
- Click Save. The report is submitted for generation and appears on the index in
Runningstate.
When the status reaches Completed, open the detail view, go to the Documents tab, and download the Word file to attach to your audit evidence package.
Checking the status of a running report
The Reporting index updates itself automatically while you have the page open. An invisible background process polls the server at regular intervals and refreshes the status of any running jobs in place — the spinner disappears from a row as soon as that job finishes. You do not need to refresh the page or do anything else. If a report has been in Running status for an unusually long time, click the row and check the Documents tab. If it shows an error message ("Error on report generation"), the background job has failed. Note down the report's details and contact your IT administrator, as the fix must be applied at the server level.
Browsing and reviewing multiple reports
Once your list grows, use the status filter tabs at the top of the table to focus on what matters. For example, click the completed tab to see only reports ready for download, or the running tab to see which jobs are still in progress.
Use the search bar to find a specific report by name. Typing any part of the name filters the list in real time. Clear the field to return to the full list.
You can also sort the list by clicking the column headers for Name, Status, Type, Standard, or Requested By.
When you open a report's detail view, you can step through reports one by one using the chevron arrows (‹ ›) in the breadcrumb trail at the top. This is useful for auditors or managers who want to review a batch of reports without returning to the list each time. Greyed-out arrows mean there is no adjacent record in the current sort and filter.
To review the full change history for any report — who requested it, when its status changed — click the clock icon (Activity Log) in the top-right of the detail view. A slide-out panel shows the complete changelog.
What the detail view shows you
The General tab of the detail view is always read-only. It confirms every setting that was used when the report was requested:
- Name — the report's title.
- Languages — which languages were generated.
- Type — Individual or Compliance.
- Requested By — who triggered the report.
For Individual Reports, you also see:
- Elements — the element types included.
- Organizations — the companies in scope.
- Timeframe — whether a date filter was applied, and the start/end dates if so.
For Compliance Reports, you also see:
- Standard — the compliance standard used (ISO27001).
The Documents tab lists all generated files with download links. If generation failed, this tab shows an error message instead of files.
The status panel on the right side of the detail view shows the current lifecycle status and the last updated timestamp at a glance.
Field reference
The Individual Report creation form has a few fields worth explaining:
- Name — Free-text title for the report. Required. This is what appears in the list, so make it descriptive.
- Organisation Report — The company or companies whose records should be included. Populated from your account's associated organisational units. Required.
- Element Types — The DPMS record types to include (e.g. DPIA, ROPA, Assets). Selecting a type creates a dedicated element card below. At least one type is required.
- Element card toggles (Display Logs, Responsible Person, Document Links) — Each defaults to "No". Toggle to "Yes" to include that information in the exported document for that element type.
- Element card filters (field / operator / value) — Narrows down which records of that element type are included. At least one complete filter is required per element card before saving.
- Languages — Output languages for the document. Must match active languages configured in IT Settings. At least one is required.
- Timeframe toggle — When enabled, reveals start and end date fields. If left off, no date filter is applied.
- Start Date / End Date — The date range for the timeframe filter. Only visible when Timeframe is toggled on.
How this connects to the rest of DPMS
The Reporting screen sits at the output end of the DPMS workflow. Every other module — ROPAs, DPIAs, assets, vendors, TOMs, and more — feeds data into the reports you generate here. Think of it as the "export" stage: you configure the scope and filters here, and DPMS packages the underlying records into a document you can share with auditors, regulators, or management.
What other areas affect this screen:
- IT Settings → Language Settings: The Individual Report creation form reads its language options from the active languages configured in IT Settings. If no languages have been activated there, the language dropdown will be empty and you cannot save an Individual Report. If you run into this, ask a user with IT admin rights to enable at least one language before you try again.
- Company/Organisation structure: The Organisation Report dropdown is populated from the companies linked to your account. Users with a single-company account will see only one option.
- Element Types: The element types available on the Individual Report form are configured at the platform level and cannot be changed from the Reporting screen.
What to do after generating a report:
- Open the report's detail view, go to the Documents tab, and download the file.
- If you generated the report for an auditor or regulator, you can send the downloaded file directly — it contains no DPMS-internal metadata, just the compiled compliance content.
- If you need a slightly different scope or timeframe, you must create a new report. Existing reports are immutable once saved.
Tips & common pitfalls
Heads up: If the Language dropdown is empty when creating an Individual Report, no active languages are configured in IT Settings. A user with IT administrator rights must enable at least one language before any Individual Report can be generated. This is the most common first-time setup issue.
Heads up: If a report stays in "Running" status for a long time (more than 10–15 minutes for a typical report), the background processing queue on the server may have stalled. This is a server-level issue — closing the browser or logging out will not fix it, and there is nothing you can do from the DPMS interface. Contact your IT administrator.
- Individual Reports are always PDF; Compliance Reports are always Word. There is currently no option to generate a PDF Compliance Report or a Word Individual Report. Do not expect to find a format selector that changes this.
- Every element card needs at least one filter. If you add an element type to your Individual Report but leave the filter row blank, the form will look fine until you click
Save. At that point the card is highlighted in error and saving is blocked. Either fill in a complete filter (field + operator + value) or remove the card. - Reports cannot be edited after creation. The edit button is hidden on all report detail views — this is intentional. If you need a different scope, different languages, or a different timeframe, create a new report and delete the old one if needed.
- Navigating away does not cancel a running report. The generation job runs on the server. Closing your browser tab, logging out, or navigating elsewhere in DPMS will not stop it. The report will be waiting in the list — completed or failed — the next time you visit the Reporting screen.
- ISO 27001 is the only supported standard for Compliance Reports. If your organisation needs a different framework (such as ISO 27701 or NIST), that capability does not yet exist in DPMS.
- Use the Activity Log to answer "who requested this?" The clock icon in the detail view opens the full change history, which is useful when auditors ask about provenance.