
How to create a new user and how to change the password for login
The User Management screen is the single place in DPMS where local user accounts are born. Before any compliance officer, DPO, risk manager, or other colleague can log in, an IT or super administrator must come here to create their account, pick the right role, and set an initial password. The same screen serves as the go-to destination when someone forgets their password or when a security policy requires a forced reset. If your organisation uses Microsoft Entra ID or SAML single sign-on, accounts for those users are provisioned automatically — but local accounts and emergency administrator overrides always flow through this screen.
How to open it
User Management lives inside the IT Settings section. You need the User Management permission (read level to view the list, edit level to create or change passwords).
- Open the main left-hand navigation sidebar.
- Click IT Settings.
- In the narrower IT Settings sidebar that appears on the left, click User Management.
- The user list table loads on the right.
To open the creation form directly, click the blue Create button in the top-right corner of the list. To view or manage an existing user, click anywhere on their row.
What you see
The screen follows the standard IT Settings two-column layout: a narrow left sidebar lets you jump between IT Settings sub-pages (General, Active Directory, Languages, Roles, AI Settings, and so on), while the wider right area is your working space. User Management is highlighted as the active item in that sidebar.
Inside the content area you will find a paginated table of all user accounts. Above the table on the right sit the Create button (and an Import button if your licence and permissions include bulk import). Along the top of the table itself are a search bar and two filter dropdowns — one for account status (Active / Inactive) and one for role. Click any column header to sort.
When you open a user's detail view, the layout shifts slightly: a data card shows the user's current information, with an Edit button in the card's top-right corner for routine changes, and a three-dot (⋯) options menu next to it for less frequent actions such as changing the password. A small clock icon near the breadcrumb opens the Activity Log — a full audit trail of every change ever made to that account.
Working with this screen
Creating a new user account
When a new colleague is joining your team, you need to set up their DPMS account before their first day so that they can log in and be assigned as a responsible person on compliance objects straight away.
- From the user list, click Create. The Create User form opens.
- Enter the person's name in Full Name — this is the display name that will appear in responsible-person dropdowns throughout DPMS, so use their real name rather than a username.
- Enter their work email in Email Address. This becomes their login username, so use the same address they will use to receive DPMS notifications. Email addresses must be unique in your tenant; if you try to reuse one, the form will show an error message.
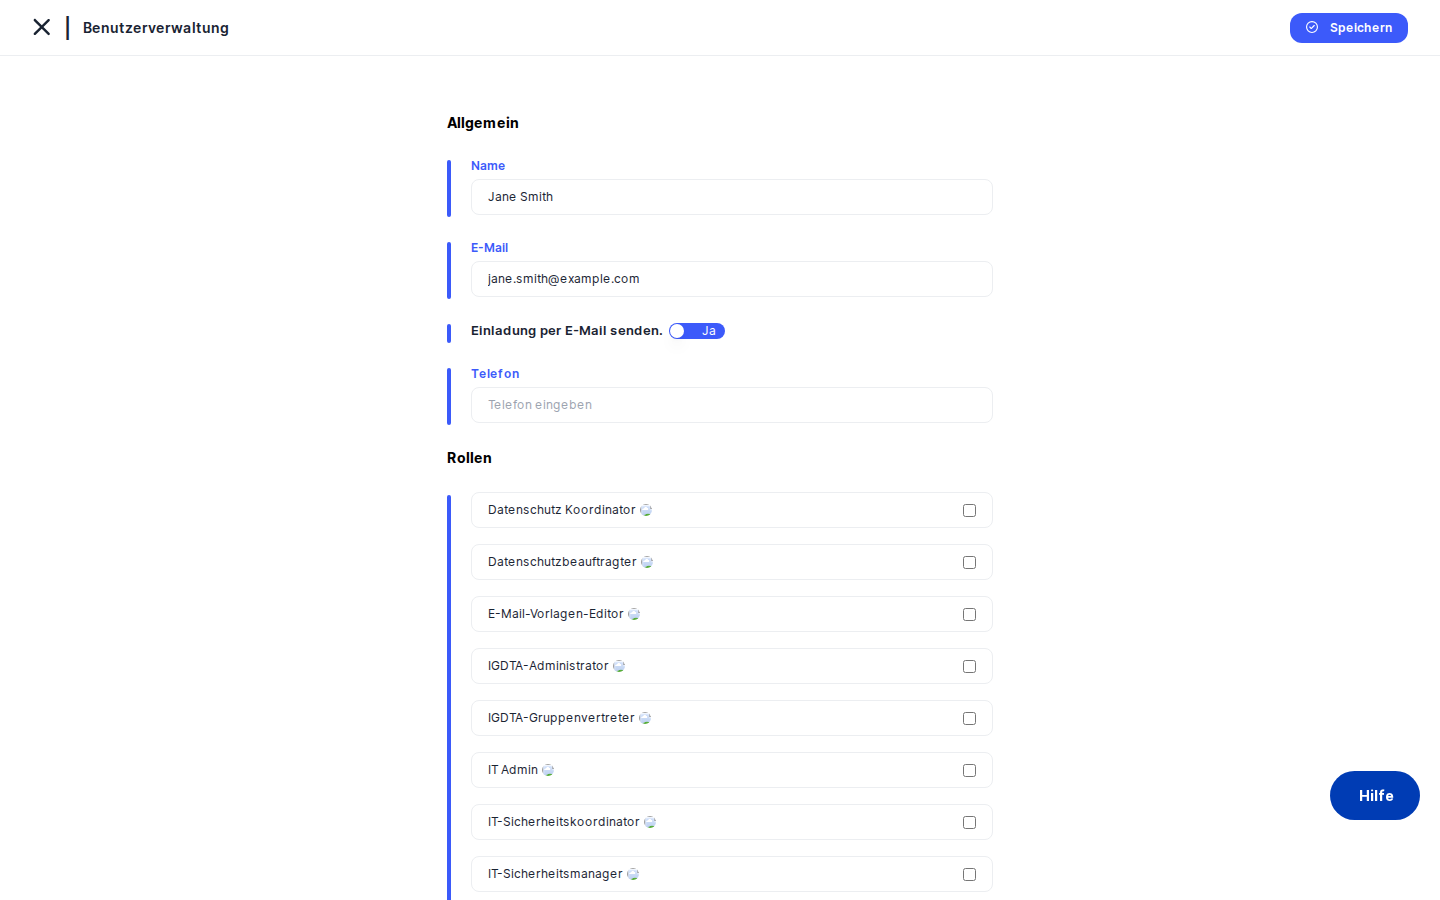
- Open the Role dropdown and select the appropriate role — for example, Data Protection Coordinator, IT Administrator, or Employee. This is the most important choice you make on this form: the role you assign here determines every screen and menu item this person can see across all of DPMS. If you are unsure which role fits, check IT Settings → Roles first.
- Enter an initial temporary password in Password. The password must satisfy the rules your organisation has set in IT Settings → General (for example, minimum length, at least one uppercase letter, one special character). The form will show an inline error if the password does not meet the policy — correct it before trying to save.
- Repeat the same password in Confirm Password.
- Optionally, change the Language dropdown to the user's preferred interface language. If you leave it on the default, DPMS will use your company's configured default language.
- Click Save. DPMS creates the account, returns you to the user list, and shows a success notification. The new user now appears in the table. Send them their temporary password through a secure channel (not email if you can avoid it) and ask them to change it on first login.
If you change your mind partway through, click Cancel or the back arrow at the top of the form — no account will be created.
Heads up: The role you assign controls everything the user can do in DPMS. Assigning Employee instead of Data Protection Coordinator means the person will hit 403 "access denied" pages without any clear explanation. Always double-check the role.
Resetting a forgotten password
When a colleague cannot log in and asks you to reset their password, you do not need to know their current password — you simply overwrite it.
- From the user list, use the search bar to find the person by name or email. The table filters as you type.
- Click their row to open their detail view.
- In the top-right area of the content panel, click the ⋯ (three-dot) options menu.
- Click Change Password in the dropdown. A modal opens.
- Enter the new temporary password in New Password — it must still meet your organisation's password policy.
- Repeat it in Confirm New Password.
- Click Save (or Confirm). DPMS updates the password immediately and shows a success notification. The modal closes.
- Communicate the new temporary password to the user securely, outside DPMS.
Heads up: Changing a password does not immediately log the user out if they have an active session. Their existing session will remain valid until it times out (the timeout period is configured in IT Settings → General). If you need to cut off access right away — for example, if an account has been compromised — deactivate the account by editing it and setting the status to Inactive.
Reviewing who has access and what role they hold
Before an audit, or when a new DPO joins and wants to understand the landscape, you will often need to answer: "Who are the super administrators?" or "Does this person still have an active account?"
- Open the user list. Use the Role filter dropdown to narrow the table to a specific role — for example, Super Administrator.
- Review the filtered results. The table shows name, email, role, status, and last login date.
- If you need a deeper look at a specific person, click their row to open the detail view.
- Click the clock icon (Activity Log) near the breadcrumb. A slide-in drawer opens showing the complete change history for that account: when it was created, when the role was last changed, and when the password was last reset — and who performed each action.
- Close the drawer with the × icon when you are done. Use the breadcrumb or back arrow to return to the list.
Updating a user's role after a promotion or team change
When someone moves into a new responsibility — say, from Employee to IT Security Manager — their DPMS permissions need to be updated to match.
- Search for the user in the list and click their row.
- In the data card, click Edit. The edit form opens pre-filled with their current details.
- Change the Role dropdown to the new role.
- Click Save. From this moment on, the user's permissions across all of DPMS reflect the new role — no logout or session restart is required on their end (the change takes effect on their next page load).
Field reference
Full Name — The person's display name as it will appear throughout DPMS. Required. Cannot be left blank.
Email Address — The login username and notification address. Required. Must be a valid email format and must not already exist in your tenant. Use lowercase to avoid duplicate-account confusion (see Tips below).
Role — The permission bundle assigned to this user. Required. Choose from the roles defined in IT Settings → Roles. This single choice controls every screen and action the user can access.
Password — The initial (or temporary) password. Required for local accounts. Must meet the password policy set in IT Settings → General. Shown as masked characters; not visible after saving.
Confirm Password — Repeat of the password field for typo prevention. Must match Password exactly.
Language / Locale — The user's preferred DPMS interface language. Optional. Defaults to the company's configured default language if left blank.
New Password (Change Password modal) — The replacement password. Required. Same policy rules apply as above.
Confirm New Password (Change Password modal) — Must match New Password exactly.
How this connects to the rest of DPMS
The role you assign on this screen is the single action that shapes everything a user can do across the entire platform. There is no other place in DPMS where a local user's role is set or changed. Once an account is active:
- Responsible Person dropdowns on every processing record, asset, risk, vendor, and compliance object are populated from active users in this list. A person who does not have an account here cannot be assigned as responsible for anything.
- Workflow approvals and task notifications are sent to users by their email address as registered here. If an email is wrong, the user will never receive approval requests or deadline reminders.
- Password policy (configured in IT Settings → General) is enforced every time you create or update a password on this screen.
- Roles (configured in IT Settings → Roles) define the permission bundles available in the Role dropdown here. If a role you need does not appear in the list, go to IT Settings → Roles to create it first.
- Active Directory / Microsoft Entra ID synchronisation can create accounts automatically, but you may still visit this screen to verify results or to manage any local override accounts.
After creating a new user, the recommended next step is to verify the assigned role in IT Settings → Roles to confirm its permissions are as expected, then notify the user of their temporary password.
Tips & common pitfalls
Tip: Configure your password policy in IT Settings → General before you start creating users. The policy is only enforced at the moment a password is set or changed — existing passwords are not retroactively invalidated if you tighten the rules later.
Heads up: Assigning the wrong role is the most common mistake on this screen. The user will see 403 error pages on entire sections of DPMS with no clear explanation. When in doubt, open IT Settings → Roles in a second browser tab and review the permissions before saving.
- Use lowercase email addresses consistently. Depending on database collation settings,
Jane@Company.comandjane@company.comcan be treated as different values, creating confusing duplicate accounts. Adopt a lowercase-only convention for all entries. - Deactivate, don't just change the password, when revoking access urgently. Changing a password does not end an active session. Set the account status to Inactive if you need to cut off access immediately.
- Old local accounts survive an SSO migration. If your company switches to Microsoft Entra ID, the local accounts you created here remain Active. Audit and deactivate them manually to prevent orphaned logins.
- The Activity Log is hidden for shared or consulted records. If a user record has been shared across tenants or is being viewed in Consulted mode, the clock icon does not appear. Access the audit trail through your own tenant's primary view.
- The Import button only appears if your plan and permissions include bulk import. If you need to create many accounts at once and the button is not visible, contact your system owner to confirm whether bulk import is available for your licence tier.