
Create an asset
Create an Asset
The Create an Asset screen is where you formally register any system, database, application, physical device, or service that processes, stores, or transmits personal or sensitive data inside your organisation. Think of it as filling in the first page of a file for every resource in your data protection inventory. Once an asset exists, all of DPMS's risk, compliance, and oversight features — risk scenarios, treatment plans, TOMs, RoPA links, assessments — have something concrete to work with. Without a properly created asset record, none of those downstream activities can be attached to it.
How to open it
Navigate to Assets in the left-hand sidebar, then click the Create button at the top-right of the asset list. Alternatively, if you arrive from an Assessment review portal and need to register a new asset on the spot, DPMS can take you directly to this form and bring you back to the assessment afterwards.
You need the asset creation permission to see the Create button. If it is not visible on the asset list, contact your DPMS administrator.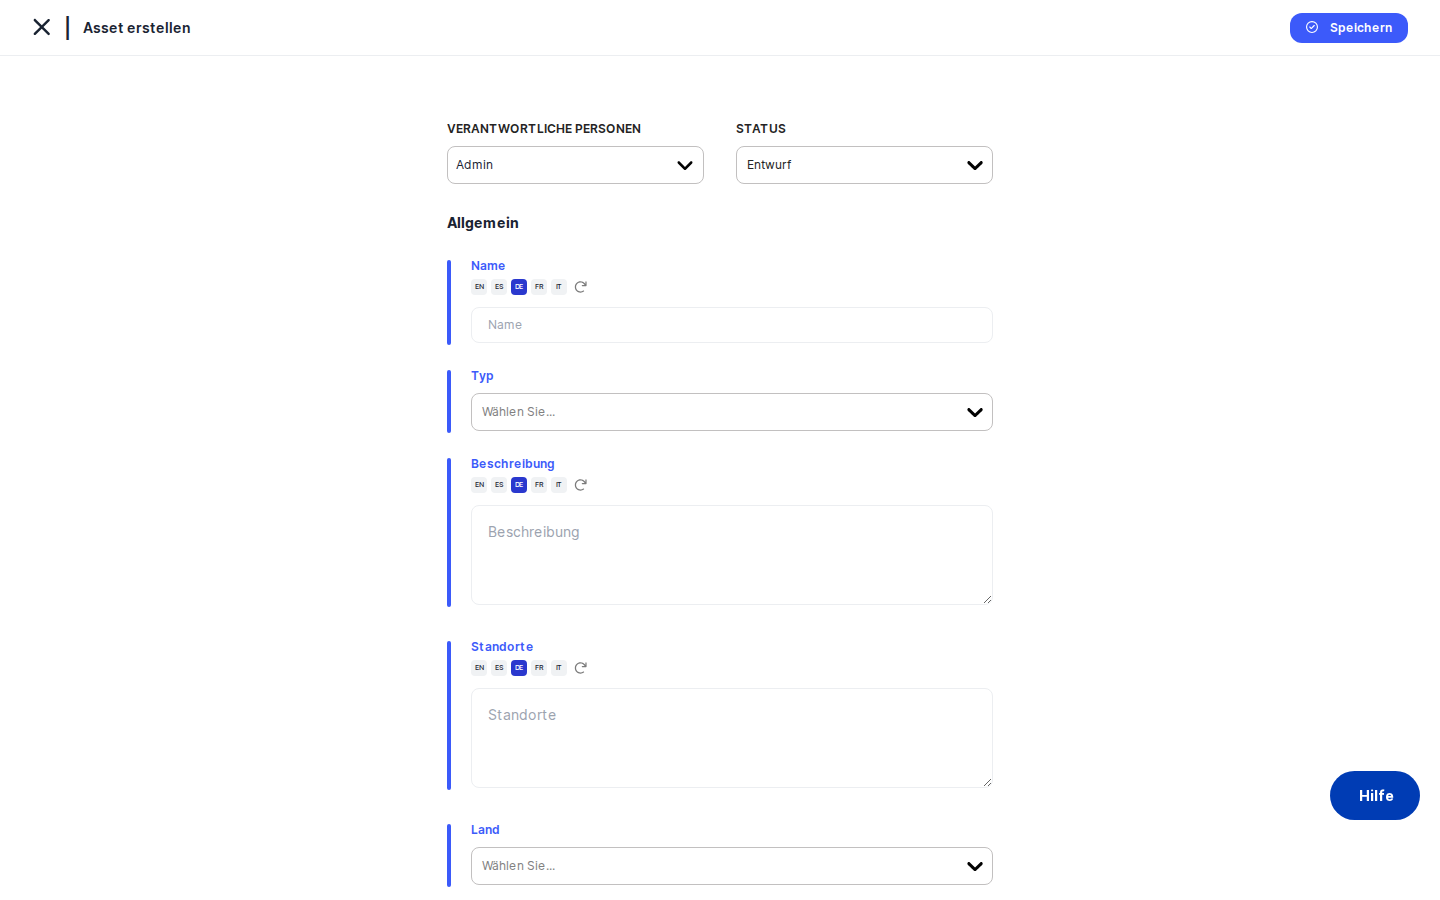
What you see
The form opens with a page heading of "General" — this is the first tab of the asset record you are building. A card with a blue left border occupies the main area of the screen; this visual convention across DPMS signals that you are in a data-entry view rather than a read-only detail view.
Across the top of the card sits a narrow action bar that holds the Responsible Person(s) picker and the Status dropdown — these stay in view as you scroll, so you can always adjust ownership and status without hunting for them. Below that, the fields run from top to bottom in a logical order: Name, Type, Description, Locations, Country, ID, URL, and finally the Risk Owner section with its On Behalf Of sub-field. A Save button sits at the top-right of the card.
Working with this screen
Registering a new asset from scratch
Start by typing the asset's name into the Name field — something clear and searchable like "CRM System – Salesforce" or "EU Customer Database." This name will appear in every dropdown, index list, and report in DPMS, so make it descriptive.
Next, click the Type selector and choose the category or categories that best describe the asset (for example, "Software" or "Database"). These tags come from your organisation's tag library. If the list appears empty, your administrator needs to add asset-type tags under Compliance Settings → Tags → Asset Type first — the asset can still be saved without a type, but you will lose the ability to filter by it in reports.
Move down to Description and add a brief note about what this asset does and why it is relevant to your data protection activities. The text area expands as you type, so there is no need to be brief.
Fill in Locations if you know where the asset is hosted — "Frankfurt data centre" or "EU-West-1 AWS region," for example. This feeds into cross-border transfer assessments and breach notification scoping.
Select the primary Country from the dropdown. This is used for jurisdictional compliance matching and applicable regulation analysis.
If your organisation tracks assets in an IT inventory or CMDB, paste the external reference code into the ID field. This is a free-text field — no validation — so it is purely for cross-referencing. Similarly, if the asset has a web address (an internal admin console or a vendor's product page), paste it into the URL field. Once saved, this appears as a clickable link on the asset's detail page.
In the action bar at the top, open the Responsible Person(s) picker and select everyone who is accountable for keeping this record up to date. Then set the Status — the field defaults to Draft, so if your workflow requires assets to be Active from the moment they are created, change this before saving.
Finally, scroll to the Risk Owner section. Click the picker and select the individual who is formally accountable for managing the risks associated with this asset. This person will appear on risk reports, treatment plan approvals, and audit trails.
When you are satisfied, click Save. DPMS creates the record and redirects you to the new asset's detail page, where you can assign it to an Asset Group and link risk standards.
Setting the delegation chain for risk ownership
In many larger organisations, the person listed as Risk Owner is acting on behalf of someone else — a department head who manages risk formally, while the actual data steward holds the original accountability.
After selecting a Risk Owner, look at the On Behalf Of picker that appears directly beneath it. Select the person the Risk Owner is representing. DPMS will display this relationship on the asset detail view as "Risk Owner (on behalf of [name])," creating a transparent delegation chain for auditors.
One important rule: you cannot select the same person as both Risk Owner and the person they act on behalf of. If you try, DPMS will silently block the selection. Similarly, if you later change the Risk Owner to match whoever is already in the On Behalf Of field, DPMS will automatically clear that field — so always check it after updating the Risk Owner.
If no delegation is needed, simply leave On Behalf Of empty.
Enriching a stub asset created elsewhere in DPMS
DPMS sometimes creates placeholder asset records automatically — during bulk imports or when an assessment workflow generates a related asset on the fly. These stubs may have a temporary name and no other metadata.
Open the stub from the asset list. The detail view will show an Edit button on the General section; clicking it loads exactly the same form as creation, pre-filled with whatever data the stub already contains. Update the Name to something meaningful, choose a Type, add a Description and Country, and assign a Responsible Person and Risk Owner. Because the record already exists (it has an internal ID), clicking Save will update rather than create, and you will be returned to the detail view with your changes applied.
Registering an asset mid-assessment
During a DPIA or other assessment, you may realise a data-processing system has not yet been registered. If DPMS offers a "Create Asset" shortcut from within the assessment portal, click it. The asset creation form opens. Fill in at least the Name and assign a Responsible Person, then click Save. Because you arrived from the assessment, DPMS remembers where you came from and sends you straight back to the assessment page — the new asset is immediately available for selection there.
Field reference
- Name — The asset's display name throughout DPMS. Supports automatic translation into all active languages. Required in practice (the form will save without it, but the resulting record will appear blank everywhere).
- Type — One or more classification tags (e.g. "Software", "Database", "Physical"). Tags must be pre-created in Compliance Settings → Tags → Asset Type. Optional, but needed for filtering.
- Description — Free-text explanation of the asset's purpose. Optional; no character limit.
- Locations — Where the asset resides physically or logically. Optional; used in cross-border transfer analysis and shown as a column in the asset index.
- Country — Primary country of operation. Selected from a standard country list. Optional; used for regulation matching.
- ID — External identifier for cross-referencing with a CMDB, IT inventory, or spreadsheet. Free text, no uniqueness check. Optional.
- URL — A web address for the asset. Any string is accepted (no format check), so double-check for typos before saving. On the detail view this renders as a clickable link with a copy-to-clipboard button.
- Responsible Person(s) — The DPMS user(s) accountable for keeping this record current. Strongly recommended; without an owner, notifications and audit trails will have gaps.
- Status — Lifecycle stage of the asset (e.g. Draft, Active, Under Review). Defaults to Draft. Change to Active if your workflow requires it at creation time.
- Risk Owner — The individual formally accountable for risk decisions on this asset. Optional at creation but strongly recommended for risk reporting and treatment approvals.
- On Behalf Of — The person the Risk Owner represents, if acting as a delegate. Only meaningful when a Risk Owner is set. Cannot be the same person as the Risk Owner.
How this connects to the rest of DPMS
Creating an asset is the starting point for a wide set of downstream activities. Nothing else can be linked to an asset until the asset exists:
- Asset Groups & Risk Standards — Once saved, open the asset's detail view and go to the "Groups & Standards" tab to add it to an Asset Group and assign a risk standard (such as ISO 27001 or GDPR). Risk scores cannot be calculated until this step is complete.
- Risk scenarios and treatment plans — The risk analysis tabs (Current Asset Risk, Treatment Options, Treatment Plan, Threshold) only become available after the asset has at least one risk standard linked.
- Assessments (DPIAs, vendor assessments) — Assessments that reference this asset will appear on the asset's "Assessments" tab after saving.
- TOMs (Technical and Organisational Measures) — Implemented security controls can be linked to the asset from its detail view.
- RoPA records — Records of Processing Activities can reference the asset; linked RoPA entries and applicable regulations appear on the General Detail tab.
- Asset dropdowns across DPMS — Immediately after saving, the new asset appears in every "Link Asset" picker throughout DPMS, because the save action refreshes the global asset list.
After creating the asset, the natural next step is to open its detail view, assign it to an Asset Group, and link one or more risk standards so that risk scenarios and scoring can begin.
Tips & common pitfalls
Heads up: The form does not block you from saving without a name. An unnamed asset will appear as a blank row in every list and is very difficult to find later. Always fill in Name before clicking Save.Heads up: Navigating away from the form without saving will discard everything you have typed. DPMS does not show a "discard changes?" prompt on this screen. If you need to check something elsewhere, open a new browser tab rather than using the sidebar.
- Responsible Person vs. Risk Owner — These are different roles. The Responsible Person is accountable for the DPMS record (keeping it accurate, responding to system notifications). The Risk Owner is accountable for the actual risks. In a small team they can be the same person; in larger organisations they usually are not. Assigning both correctly from the start prevents confusion in risk reports.
- The "On Behalf Of" field resets silently — If you set an "On Behalf Of" person and then change the Risk Owner to be that same person, DPMS automatically clears the "On Behalf Of" field. This is by design (someone cannot act on behalf of themselves), but it can catch you off guard. Always glance at both fields after changing the Risk Owner.
- Asset Types must exist before you can use them — The Type dropdown is only populated if your administrator has already created asset-type tags at Compliance Settings → Tags → Asset Type. If the dropdown is empty, the asset can still be saved, but type-based filtering will not work until tags are created and the asset is updated.
- The URL field does not validate format — Any string is accepted. A URL with a typo will save without error but will produce a broken link on the detail view. Double-check the address before saving.
- Status defaults to Draft — If your organisation marks assets as Active immediately upon registration, remember to change the Status dropdown before clicking
Save. It is easy to forget, and changing status later requires re-opening the record for editing.