
Upload a new document or policy
Upload a New Document or Policy
The Policies & Documents module is where your organisation's compliance documents live — from privacy policies and data retention schedules to information security guidelines and processing procedures. This screen is the starting point for that lifecycle: it lets you register a new document's key details, choose how the content will be stored (as a file or as an external link), and assign ownership and classification before the document becomes available to the rest of DPMS. DPOs, compliance officers, IT security managers, and IT security coordinators are the people who most commonly use this screen. Everything else in DPMS that touches a document — linked assessments, review workflows, vendor connections, access restrictions — depends on the record you create here first.
How to open it
- In the left-hand navigation bar, click Policies & Documents.
- In the top-right corner of the document list, click the Create button. A small dropdown appears.
- Choose the standard single-document option (not "Multiple Upload" or "Import").
You need permission to create or edit policy documents to access this form. If you only have read access, the Create button will not appear. If you navigate directly to the URL without the necessary permission, DPMS will show a "Forbidden" page instead of the form.
What you see
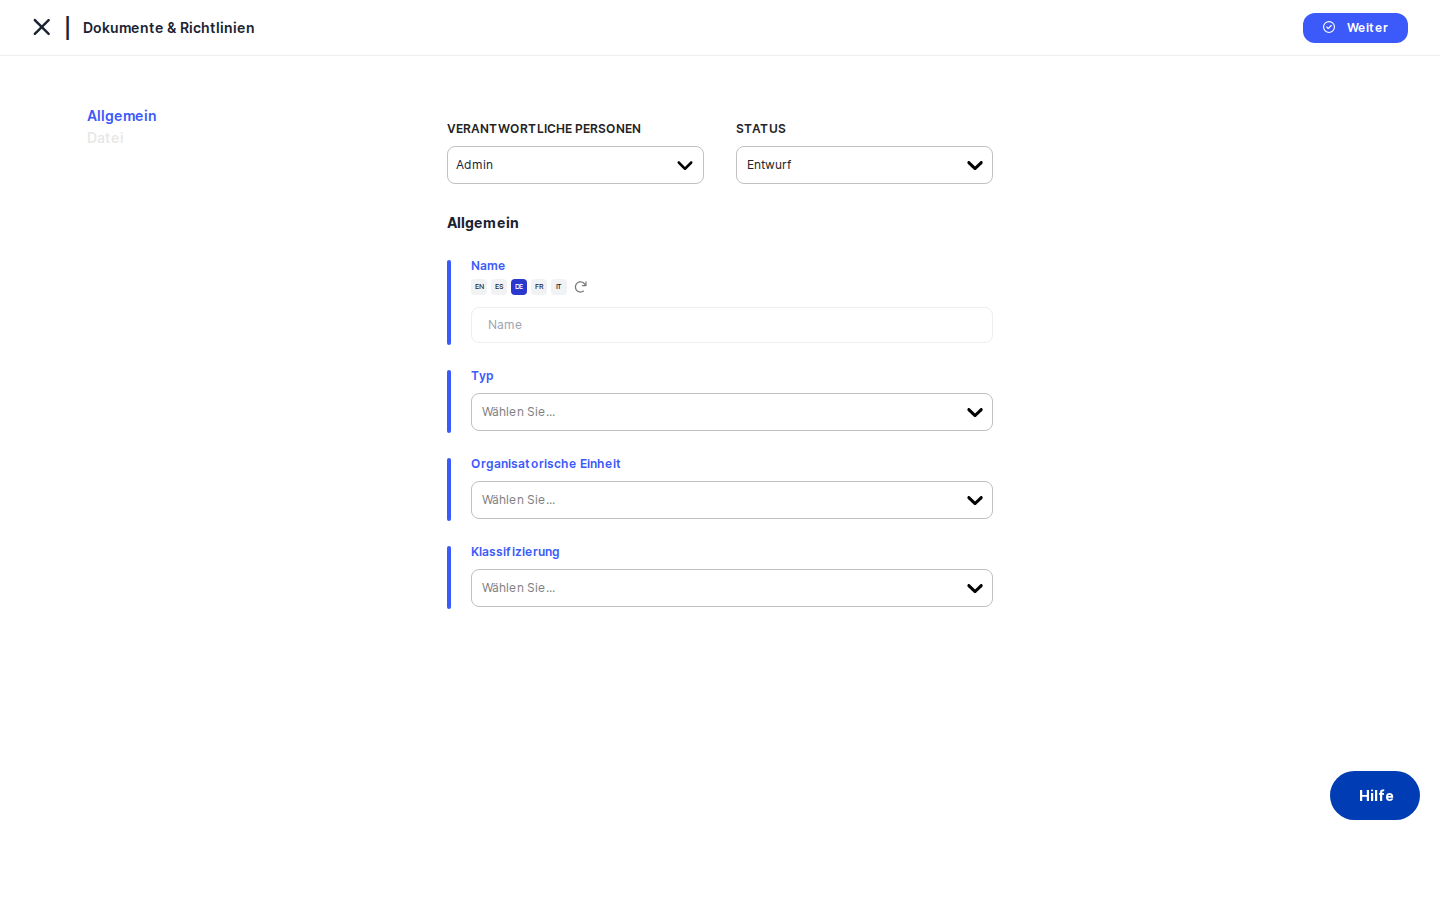
When the screen opens, a left-hand side menu lists the tabs available for this record: General and Upload are always visible, but all other tabs — Linked Elements, Tasks, Assessments, Manage Access, Trigger Workflow, and Overview — are greyed out until you save the General form for the first time. This is intentional: DPMS needs an ID for the record before it can link other objects to it.
The right side of the screen shows the active tab's content. On first load, only the General tab is active, and it contains the form where you fill in all the document's key information. A thin blue vertical bar on the left edge of the form card visually marks the editable area. At the very top of the screen, a back-arrow link labelled "Policies & Documents" lets you exit at any time without saving.
A small circle icon in the far-left margin of the page can be clicked to collapse or expand the side tab menu — useful when you need more horizontal space to work with a wide table on a later tab.
Working with this screen
Setting up a new file-based document for the first time
The most common scenario is uploading a PDF or Word document — a privacy policy, a security guideline, or a data retention schedule.
Start on the General tab. Give the document a clear name in the Name field, such as "Data Retention Policy 2025." If your company uses multiple languages and an AI translation provider has been configured in IT Settings, a small AI button appears next to the name field and can auto-populate translations for you. If the button is greyed out, no AI provider is set up yet and you will need to enter translations manually.
Next, open the Type dropdown and select document. This tells DPMS that you will be uploading a file rather than linking to an external URL — and it is a permanent choice. Once you save, this field is locked and cannot be changed. Take a moment to confirm your selection before moving on.
Use the Organizational Unit selector to associate the document with the relevant team or department — for example, "Legal" or "Human Resources." Then open the Classification selector and apply any tags that describe the document, such as "Internal," "Approved," or "Legal." If the tag you need does not exist yet, you can type it directly into the selector and it will be created in your compliance tag library when you save.
Assign one or more Responsible Persons using the person picker near the top of the form. These people will appear as the document's owners in the index list and will be the default point of contact for workflow notifications.
Finally, set the Status. If the document is ready to be published immediately, choose Active. If you are still preparing the content, choose Draft to keep it out of active circulation until you are ready.
Click Save. DPMS submits the metadata to the backend, receives a new record ID, and automatically takes you to the Upload tab. All other tabs in the side menu unlock at this point.
On the Upload tab, you will see a dashed drag-and-drop area. Drag the file from your computer into this zone, or click inside it to open a file browser. The file uploads immediately — you do not need to click Save to start the upload. After a few seconds, the file appears below the drop zone with a "scan pending" badge while the platform's malware scanner checks it. Once the scan passes, the badge updates and the file is accessible to users with appropriate permissions.
Heads up: If a file is flagged by the malware scanner, it moves into quarantine and disappears from the view of DPOs and compliance officers. Only IT Security Coordinators, IT Security Managers, System Managers, and Super Admins can see quarantined files. If a document appears to vanish after upload, contact your IT security team.
Registering an external link instead of uploading a file
If the authoritative version of your document is hosted elsewhere — on a SharePoint site, a corporate wiki, or an intranet — you can register a URL link instead of duplicating the file.
Open the General tab and complete the Name, Organizational Unit, Classification, and Responsible Persons fields as described above. When you reach the Type dropdown, select link. Click Save.
DPMS takes you to the Upload tab, but instead of a drag-and-drop area, you will see a text field labelled Link. Paste or type the full URL of the document. You do not need to include https:// — the system adds it automatically if it is missing. Click Save.
The URL appears as a row below the field with three icons:
- The external-link icon opens the URL in a new browser tab so you can confirm it is correct.
- The copy icon copies the URL to your clipboard — useful for sharing a reference with a colleague.
- The X icon removes the link if it was entered incorrectly.
Tip: Unlike file uploads, link entries are not saved automatically. You must click Save after entering the URL. A common mistake is typing the link and navigating away, only to find it was never saved.Editing or removing a saved link
If a URL becomes outdated — for example, a SharePoint page has moved — navigate to the Upload tab of the document, find the relevant link row, and click the external-link icon to verify it first. If the page returns an error, click the X icon to remove the old URL. Then type or paste the new URL into the field and click Save to store the update.
Triggering a review or approval workflow
Once a document has been created and a file or link has been attached, you can attach a formal review process to it. Click the Trigger Workflow tab in the left-hand side menu. The tab shows the workflow assignment panel with any workflow templates that have been configured in your DPMS instance — for example, "Annual Policy Review" or "Document Approval."
Select the appropriate workflow, assign reviewers if prompted, and click the trigger button. A new workflow instance is created for this document and the tab transitions to show the workflow's current status. You can track progress in the Overview sub-tab.
Heads up: The Trigger Workflow tab requires a specific workflow permission. If you see a "Forbidden" message on this tab, ask your system administrator to grant you the policy workflow permission.
Field reference
Name— The document's title, stored in multiple languages. Required. The form will not save without a name. If AI translation is configured in IT Settings, an AI button next to the field can auto-translate to your company's other languages.Type— Choose document (file upload) or link (external URL). Required. This field is permanently locked after the first save — you cannot change it later. If you choose the wrong type, you must delete the record and start again.Organizational Unit— Associates the document with one or more departments or teams. Optional. Leaving it empty is valid; the document will simply have no organisational unit in the index filter.Classification— One or more free-form tags (for example, "Internal," "Approved," "Legal"). Optional. New tags can be created on the fly by typing a new name in the selector — they will be added to your compliance tag library on save.Responsible Persons— The users who own this document administratively. On a brand-new record they are saved with the main form; on an existing record, changes are auto-saved immediately. Used by workflow routing for notifications.Status— The document's lifecycle state: Active, Inactive, Draft, or any custom statuses your company has configured. Defaults to the first available status in your configuration. Changing the status on an existing record saves immediately.Link(Upload tab, link-type documents only) — The external URL. Thehttps://prefix is added automatically if omitted. Duplicate URLs are rejected. Changes are only saved when you clickSave.
How this connects to the rest of DPMS
The record you create here is the foundation for everything else in the document's lifecycle. Here is what changes once you have created and saved a document:
- Linked Elements tab — After saving, you can link this document to other DPMS objects such as vendors, ROPAs, assets, and assessments. Linking works both ways: once a document is linked from a vendor's detail page, it appears in the vendor's linked documents list.
- Tasks tab — You can create or attach follow-up tasks directly to the document (for example, "Review policy by Q2 2026").
- Assessments tab — DPIAs and other assessments can be linked here, giving auditors a direct connection between the processing activity and the governing policy.
- Manage Access tab — Restrict who can read or edit this document by audience group or individual user. Useful for sensitive internal policies.
- Trigger Workflow tab — Attach a formal review or approval cycle to the document.
The Responsible Persons you assign here are used by the workflow engine to route notifications. If no responsible person is set, some automated workflow steps may not dispatch correctly.
The Type choice you make here permanently determines whether the Upload tab shows a file uploader or a link field. Make this decision carefully before saving for the first time.
Documents created here do not automatically appear in linked documents tables on other screens (such as vendors or ROPAs). You must actively link them, either from the Linked Elements tab on this screen or from the target object's own linked documents section.
Tips & common pitfalls
Heads up: TheTypefield (document vs. link) is permanently locked after your first save. If you realise you chose incorrectly, you must delete the record and create a new one. Always confirm your selection before clickingSavefor the first time.
Tip: All tabs except General are greyed out until you save the form at least once. If you click on Upload or Tasks before saving and nothing happens, this is expected — save the General form first.
- After saving the General tab, DPMS takes you straight to the Upload tab. This is by design — the system assumes you will want to attach content right away. If you need to edit the General metadata further before uploading, click the General tab in the side menu to go back.
- Link-type documents require an explicit
Saveclick on the Upload tab. Unlike file uploads (which upload automatically when you drop the file), link entries are only persisted when you clickSave. Do not navigate away after typing a URL without saving first. - The Responsible Person field and the Reviewers list in a workflow are separate things. Assigning a responsible person on the General tab identifies the administrative owner of the document. Setting reviewers in a Trigger Workflow step identifies who must formally approve each version. A responsible person is not automatically a reviewer, and vice versa.
- Quarantined files are invisible to most roles. If an uploaded file is flagged by the malware scan, it becomes invisible to DPOs and compliance officers. Only IT Security Coordinators and above can see or release it. If a recently uploaded file seems to have disappeared, ask your IT security team to check the quarantine status.
- Classification tags can be created on the fly. If you need a tag that does not yet exist in your system, simply type the new name into the
Classificationselector. It will be created in your compliance tag library when you save — no need to go to Compliance Settings first.