
Edit an asset
Edit an Asset
The Edit an Asset screen is where you go to keep your organisation's asset records accurate and complete. Whether you need to rename a system, assign a risk owner, link the asset to a risk standard, or record the latest risk scores after controls have been implemented, everything happens here. This screen sits at the heart of DPMS's risk management workflow — risk scenarios, technical and organisational measures (TOMs), treatment plans, and assessments all depend on what you configure here.
How to open it
- In the left-hand navigation sidebar, go to the Assets section.
- Click any asset row in the Assets list to open its detail view.
- On the detail view, click the Edit button (the pen icon) on any section card — this takes you straight to the relevant section of the edit screen.
You can also arrive here by clicking the edit pen icon on a risk scenario row, a suggested TOM row, or other linked tables throughout DPMS.
Permission required: You need edit permission for assets in your company. Users who only have read access will see the screen, but controls will appear greyed out with the tooltip "You don't have permission to perform this action."
What you see
At the very top of the screen is a breadcrumb bar showing your path: Assets › the asset name › the current section. Left and right arrow buttons sit next to the asset name, letting you jump to the previous or next asset in your current list without going back to the index.
Below the breadcrumb is a sticky header containing the asset's status badge, the assigned responsible persons, and action buttons. Changes you make in this header area — such as switching the status or reassigning a responsible person — save immediately without needing to click a save button.
On the left side of the screen is a vertical section menu listing all the major configuration areas: General, Groups & Standards, Risk Scenarios, Implemented TOMs, Treatment Options, Threshold, Assessments, External Recipients, Data Deletion Tasks, Manage Access, Treatment Plan, and Workflow. Clicking a section loads it in the main content area on the right.
There is also a small toggle switch near the top of the left menu labelled Asset View / Groups View. This is an important control — read the tips section before using it.
The main content area on the right shows the active section as a white card with its own fields and a Save button at the bottom.
Working with this screen
Updating the asset's basic information
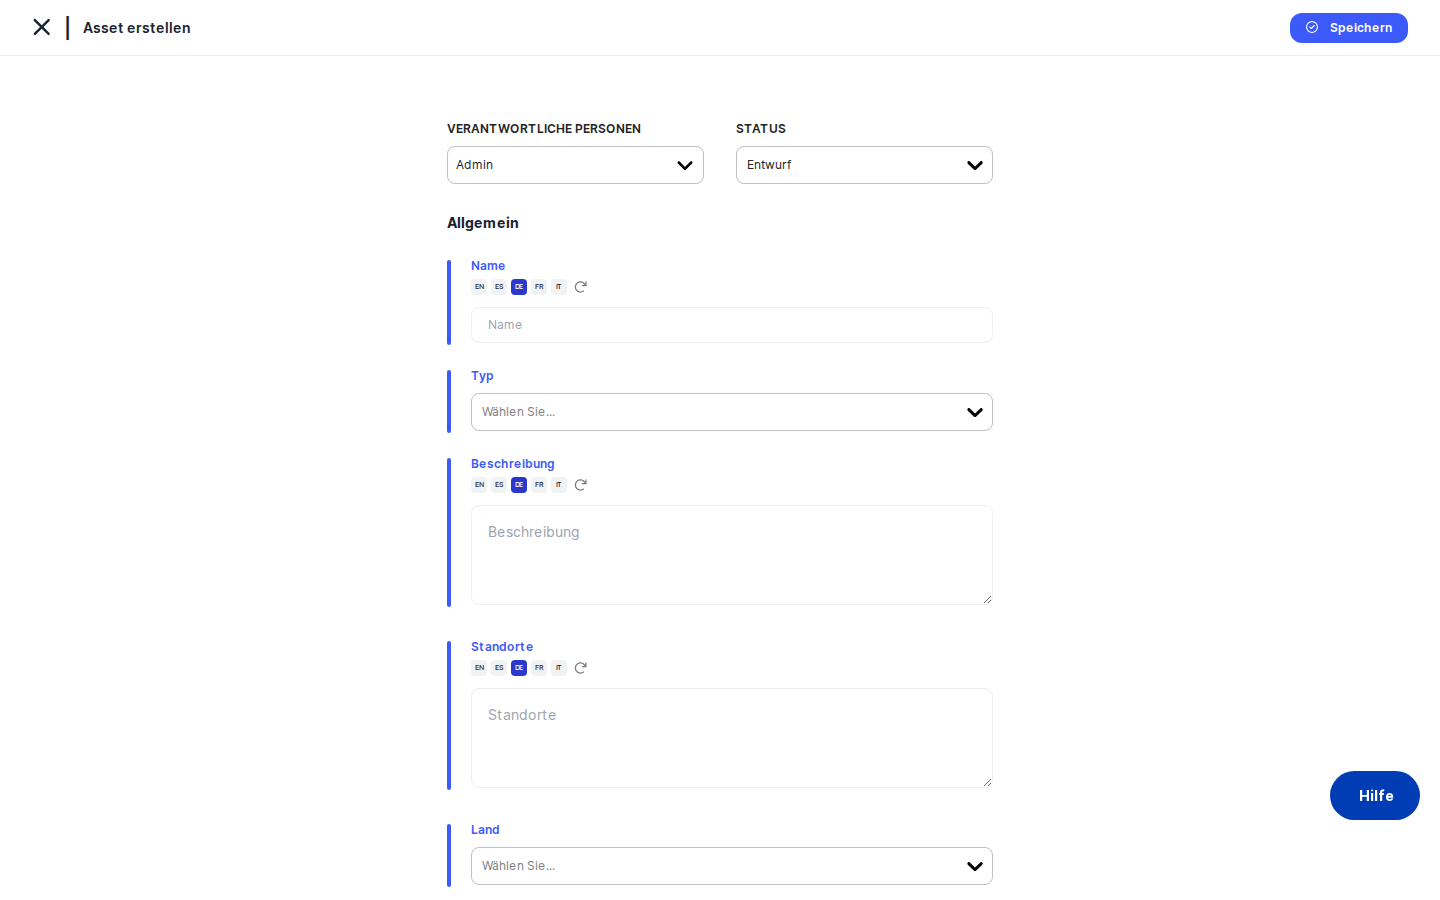
The General section holds the core details of the asset record. You'll come here when an asset is renamed, moves to a new location, or needs its ownership updated.
- Open the edit screen on the General tab (or click the edit pen icon on the General card from the asset detail view).
- Update the fields you need to change. The Name field supports multiple languages — if your organisation has automatic translation enabled, other language versions may already be populated; review them to make sure they are still accurate.
- If the asset has moved to a different data centre or cloud region, update the Location field. If jurisdiction matters for compliance reporting, set or update the Country field.
- To link the DPMS record to your existing IT asset management system, enter the system's reference number in the ID field. If the asset has a management console or vendor documentation page, enter its web address in the URL field — DPMS will display a clickable link on the detail view.
- In the Risk Owner section, select the person who is formally accountable for this asset's risk posture. This is a separate role from the general Responsible Person — the Risk Owner has specific accountability for monitoring residual risk.
- If the Risk Owner is formally acting on behalf of someone else (for example, a manager covering for another individual), use the On behalf of field to record that. Note that you cannot select the same person in both fields — if you do, the second field will clear automatically.
- Click
Saveto apply all your changes. DPMS will update the asset record and return you to the asset detail view.
Linking an asset to a risk standard and an asset group
Before risk scenarios, TOMs, and threshold settings become available, the asset must be linked to at least one risk standard (also called a risk model). You do this in the Groups & Standards section. You may also want to assign the asset to an asset group so it inherits group-level risk policies.
- From the left section menu, click Groups & Standards.
- In the Groups field, open the dropdown and select the asset group this asset belongs to — for example, "Cloud Applications" or "Core Infrastructure". Adding an asset to a group means it will inherit the group's risk scenarios, implemented TOMs, and treatment plans automatically. A contextual warning message explains exactly what will be inherited; read it before saving.
- If no suitable group exists yet, type a name that doesn't appear in the list and select the
Createoption that appears. DPMS creates the group immediately and adds it to the selection. - In the Standards field, open the dropdown and select one or more risk models — for example, your organisation's ISO 27001 or GDPR risk model. Only models that have been fully configured in Risk Settings (with likelihood levels, damage levels, categories, and thresholds) appear here. If the dropdown is empty, an administrator needs to complete the risk model configuration in Risk Settings first.
- If this asset has a unique risk profile that requires separate evaluation from its group, switch the Asset-Specific Risk Management toggle to the active position. When this is off (the default), risk is managed at group level.
- Click
Save. Once saved, the Risk Scenarios, Threshold, Implemented TOMs, and Treatment Options sections become active and populated for this asset.
Setting the risk threshold for a standard
The Threshold section lets you define the boundary between acceptable and unacceptable risk for each linked standard. Scenarios that fall above this boundary will appear in the Treatment Options tab and require a treatment plan.
- Click Threshold in the left section menu.
- The screen shows a coloured risk slider with the standard's risk categories arranged across its range. Below it is a mitigation threshold slider showing where the current boundary sits.
- To adjust the threshold, click the Edit button next to the section title. The threshold edit form opens.
- Drag the mitigation threshold slider to the position you want — for example, the boundary between "Medium" and "High" risk.
- Click
Save. From this point on, only risk scenarios whose score exceeds this value will appear in the Treatment Options tab and require active treatment planning.
Tip: If the slider area shows the message "Please configure risk category thresholds in Risk Settings" instead of the coloured bands, the risk model is incomplete. Ask your DPMS administrator to finish configuring it in Risk Settings before you proceed.
Recording likelihood and damage to calculate a current risk score
Once the asset has implemented TOMs linked to its risk scenarios, you can record likelihood and damage values to calculate an up-to-date risk score. This is done in the Risk Scenarios section.
- Click Risk Scenarios in the left section menu. You will see a table of risk scenarios linked to the currently selected standard.
- In the Current Risk of Scenario column, click the edit pen icon on the row for the scenario you want to evaluate — for example, "Unauthorised access".
- The Determine Current Risk sub-form opens. It shows a table of the implemented TOMs for that scenario, each with a Likelihood and Damage dropdown.
- If all TOMs share the same risk profile, use the Quick fill out row at the top to set a single likelihood and damage value for all rows at once. The individual rows will all update simultaneously.
- If one or more TOMs have a different risk profile, click their individual dropdowns and override the values as needed.
- The Risk After Implementation column updates in real time, showing the calculated risk score for each TOM combination.
- Click
Save. DPMS validates that every TOM row has both a likelihood and a damage value selected. If any row is incomplete, a warning toast appears and the save is rejected — complete all rows before saving. Once saved, the aggregate risk score for the scenario is recalculated and visible in the "Current Risk" badge.
Managing linked assessments, vendors, and data deletion tasks
The Assessments, External Recipients, and Data Deletion Tasks tabs let you attach and detach related records to this asset. The workflow is the same across all three:
- Click the relevant tab in the left section menu.
- Select the records you want to link using the table's selection controls.
- To unlink a record, use the unlink icon (chain-slash) on its row.
- Your changes are saved when you use the section's save controls.
Controlling who can see this asset
If your organisation uses audience-based access control, the Manage Access tab lets you restrict visibility of a sensitive asset to specific groups or individual users.
- Click Manage Access in the left section menu.
- In the Audiences dropdown, select one or more audience groups that should have access.
- In the Users field, add any individual users who need direct access.
- Click
Save. DPMS updates the access settings and returns you to the asset edit screen.
Creating or opening a treatment plan
Once risk scenarios have been evaluated and their scores exceed the mitigation threshold, you can formalise which TOMs to implement by creating a treatment plan.
- Click Treatment Plan in the left section menu.
- If no plan exists yet, click
Create treatment plan. This opens the treatment plan editor for the current standard. - If a plan already exists, click
Open treatment planto review or update it. - Previous treatment plans are listed in the history table below the button. Click any history row to view a previous plan.
Heads up: The Create treatment plan button is greyed out if no risk scenarios currently exceed the mitigation threshold. This means there is nothing that requires a treatment plan — either all scenarios are within the acceptable range, or the threshold needs adjusting.Field reference
The General section contains several fields that may not be self-explanatory:
- Name — The display name of the asset. Required. Must be filled in at least the organisation's default language. If multiple languages are active, automatic translation may populate other languages; verify these before saving.
- Type — One or more classification tags (e.g. "Software", "Database", "Hardware"). Used for filtering and reporting. Optional. If no type tags are defined in your compliance settings, this dropdown will be empty.
- Description — Free-text context about the asset. Optional. Supports automatic translation.
- Location — Physical or logical location (data centre, country, cloud region). Optional. Supports automatic translation.
- Country — Single country selection for jurisdiction-based compliance reporting. Optional.
- ID (External Identifier) — A reference number from your CMDB or IT asset management system. Optional. Any text is accepted.
- URL — A web address for the asset's documentation, management console, or vendor page. Optional. Displayed as a clickable link in the detail view.
- Risk Owner — The person formally accountable for monitoring this asset's risk. Distinct from the general Responsible Person. Optional but strongly recommended for high-risk assets.
- On behalf of — Records that the Risk Owner is covering for another individual. Cannot be the same person as the Risk Owner; the field clears automatically if the same person is selected.
How this connects to the rest of DPMS
The asset edit screen is the central configuration hub from which risk management flows throughout the platform:
- Risk dashboards and reporting aggregate the current risk scores you set here. Without completed risk evaluations on your assets, organisation-level risk dashboards will show incomplete data.
- Treatment plan generation depends on the mitigation threshold you set on the Threshold tab. Scenarios above the threshold appear in Treatment Options and drive treatment plan creation.
- Assessments that link to this asset read the asset's current risk score for their own risk evaluation sections — keeping asset risk up to date directly improves assessment accuracy.
- Asset groups — Adding this asset to a group on the Groups & Standards tab immediately applies the group's risk scenarios, TOMs, and thresholds to this asset. All risk tabs will reflect group-level data unless Asset-Specific Risk Management is switched on.
- Workflow automations — The Workflow tab displays any configured automations that trigger when this asset's status changes, such as notifications to the Risk Owner when the asset moves from Draft to Active.
After finishing your edits, review the asset detail view to confirm everything looks as expected. If you have added a new risk standard, navigate to the Threshold and Risk Scenarios tabs next to complete the risk configuration.
Tips & common pitfalls
Heads up: Risk scenarios, TOMs, Treatment Options, and the Threshold slider are all blank or hidden until you link the asset to at least one risk standard in the Groups & Standards tab. Always configure the standard first. If the Standards dropdown is empty, ask an administrator to configure a risk model in Risk Settings.
Heads up: The Groups View / Asset View toggle changes what data you are actually editing — not just what you are looking at. When you flip to Groups View, any saves on the Threshold or Risk Scenario tabs update the asset group record, which affects every other asset in the group. Always check which mode you are in before clicking Save.- The "On behalf of" field clears silently. If you select the same person as both the Risk Owner and the "On behalf of" person, the second field resets to empty without an error message. This is by design — check the field after saving if you notice it is blank.
- Every TOM row must have both likelihood and damage values before you can save. The Determine Current Risk sub-form will reject the save if any row is incomplete. Use the Quick fill out row to set a baseline for all TOMs at once, then adjust individual rows as needed.
- Raising the mitigation threshold will remove scenarios from the Treatment Options tab. This is expected behaviour — it does not mean data has been deleted. Scenarios whose risk score falls below the new threshold are simply no longer considered to require treatment planning.
Tip: When using the Copy Element tab to import risk configurations from another asset, watch for the confirmation toast that appears after you select a source. It has a 15-second auto-close timer. If it disappears before you confirm, the copy operation is cancelled silently — you will need to start again.
- The "Link all relevant TOMs" button may show a guidance toast rather than linking anything. If no relevant TOMs have been configured for the asset's risk scenarios, DPMS displays a toast with a link to the Controls & TOMs section rather than silently doing nothing. Follow that link to create or tag the relevant TOMs first.